Kodi Player is a powerful, open-source media player that allows users to stream movies, TV shows, live TV, sports, and more on a wide range of devices. One of the biggest strengths of Kodi is its support for third-party add-ons, which makes it a popular choice for IPTV streaming.
Among the many IPTV add-ons available, IPTV Stalker stands out as one of the best options. It allows users to access live TV channels and OTT content with smooth playback, EPG support, and an easy configuration process. With minimal buffering, HD streaming quality, and a user-friendly interface, IPTV Stalker significantly enhances the overall Kodi experience.
In this guide, you’ll learn how to download, install, and set up the IPTV Stalker add-on on Kodi step by step.
What Is IPTV Stalker Kodi Addon?
The IPTV Stalker Kodi add-on is a popular IPTV extension that enables users to stream live TV channels directly within Kodi. It supports both free and premium IPTV services and offers access to content from multiple categories such as sports, news, entertainment, and international channels.
This add-on is especially useful for Kodi users who want a simple and efficient way to watch live TV using IPTV playlists.
Features of IPTV Stalker Kodi Addon
- Access to live TV channels from various categories
- Supports M3U playlists
- High-quality HD streaming with minimal buffering
- Simple and user-friendly interface
- Easy setup and configuration
- Electronic Program Guide (EPG) support for scheduled programs
Before Installing IPTV Stalker on Kodi
Before starting the installation process, make sure the following requirements are met:
✔️ Kodi is installed on your device (Windows, Android, Firestick, etc.)
✔️ Unknown Sources are enabled in Kodi settings
✔️ A stable internet connection is available for smooth streaming
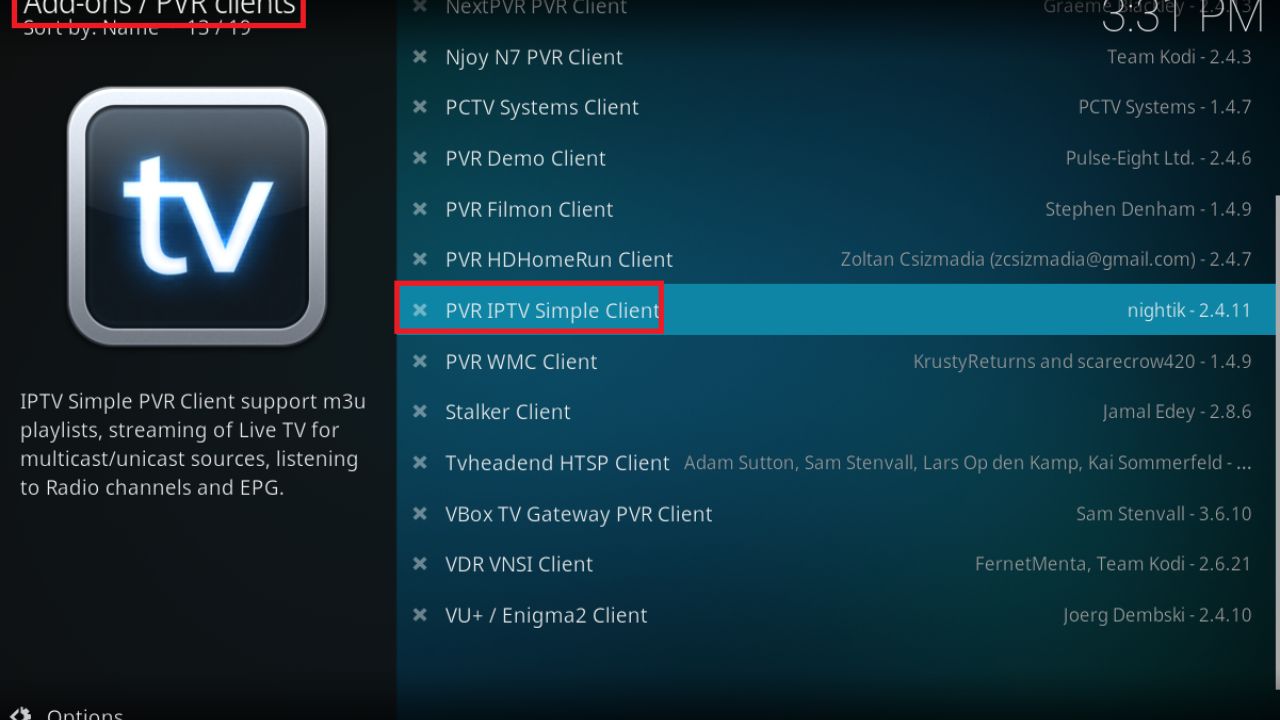
How to Install IPTV Stalker Kodi Addon Repository
Follow these steps carefully to install IPTV Stalker on Kodi.
Step 1: Enable Unknown Sources
- Open Kodi and click the Settings (gear icon).
- Go to System → Add-ons.
- Turn Unknown Sources ON.
- Click Yes when prompted.
Step 2: Install IPTV Stalker Repository
- Go back to the Kodi Home Screen.
- Select Add-ons from the menu.
- Click the Package Installer (box icon) in the top-left corner.
- Choose Install from Zip File.
- Locate and select the IPTV Stalker repository file.
- Click on
plugin.video.stalker-2.2.0cand wait for the installation notification.
Once installed successfully, you will see a confirmation message.
How to Use and Configure IPTV Stalker on Kodi
- Open Kodi and navigate to Add-ons → My Add-ons → Video add-ons.
- Select IPTV Stalker to launch the add-on.
- Click on the Configure option.
- In the URL field, paste your working M3U playlist link.
- Press OK to save the settings.
After configuration, restart the add-on and start watching live TV.
Is IPTV Stalker Legal and Safe?
IPTV Stalker itself is only a media player and does not host any content. However, some IPTV services may provide unlicensed streams. To stay on the safe side:
- Use IPTV providers that offer properly licensed content
- Avoid suspicious or illegal IPTV sources
For additional privacy and security, using a reliable VPN while streaming IPTV is highly recommended.
Conclusion
The IPTV Stalker Kodi add-on is an excellent solution for watching live TV and IPTV content on Kodi. With its smooth performance, EPG support, and simple setup process, it’s a great choice for IPTV users of all levels.
By following this guide, you can easily install and configure IPTV Stalker on your device and enjoy a better Kodi streaming experience. Always choose a trusted IPTV provider and use a VPN for safer streaming.